
I really love sensory bins! Buuuuut I’m not a big fan of super-themed sensory bins filled with plastic Halloween junk from the dollar store. Themes are often more about what looks cute to adults than what’s actually interesting to kids.
A sensory bin might photograph well when it’s packed with tiny themed objects, but that doesn’t necessarily mean it will lead to better play. Kids usually care much more about what they can do with the materials. Can they scoop them? Pour them? Mix them? Move them from one container to another?
That doesn’t mean we can’t change things up for the season!
A few Halloween colors or one or two festive additions can make a familiar sensory activity feel new without taking over the play. These 4 Halloween sensory bins are simple, open-ended, and focused on what kids really want to do: scoop, pour, mix, experiment, and explore.
- Check out more great sensory activities for toddlers!
We get commissions for purchases made through links in this post. As an Amazon Associate, we earn from qualifying purchases.
What Do You Need for a Halloween Sensory Bin?
You don’t need a long shopping list to make a fun Halloween sensory bin. Start with one main sensory material and then add a few tools kids can use to explore it.
Some of my favorite sensory bin tools include:
- Scoops
- Spoons
- Small bowls
- Cups
- Jars
- Funnels
- Tongs
- Muffin tins
- Ice cube trays
- Droppers
Look around your kitchen or classroom before buying anything new. Measuring cups, recycled containers, and small serving spoons often work just as well as tools sold specifically for sensory play.
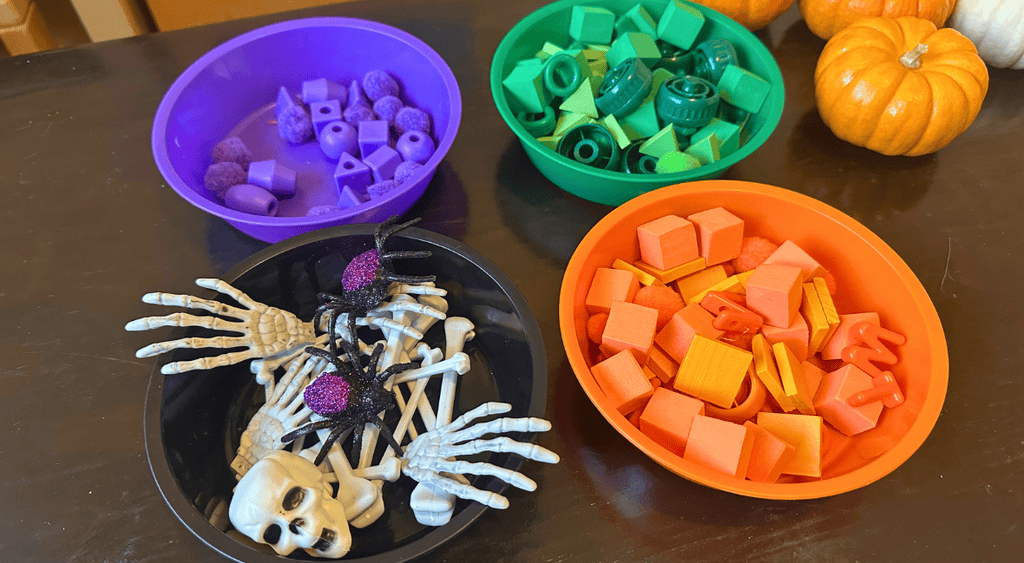
You can make the bin feel Halloween-y simply by adding small toys and loose parts in Halloween colors! Look around and collect things that are orange, purple, green, and black.
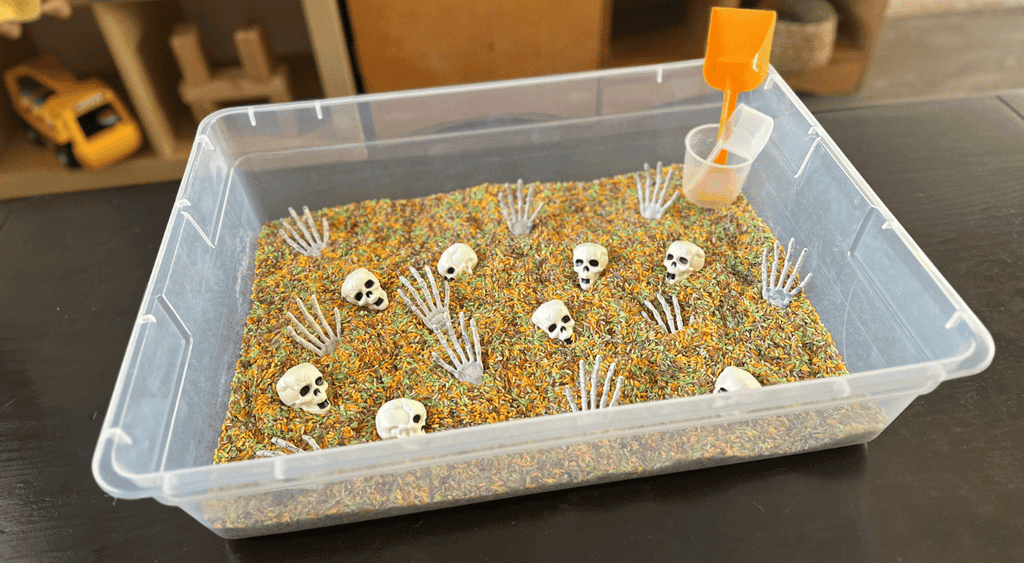
Then, if you want, add one or two Halloween items. A tiny pumpkin, a fake spider, a small cauldron, or bones can make the bin feel seasonal without overwhelming it.
- Check out this list of all my favorite sensory bin fillers!
4 Halloween Sensory Bin Ideas
1. Red Lentils and Black Rocks
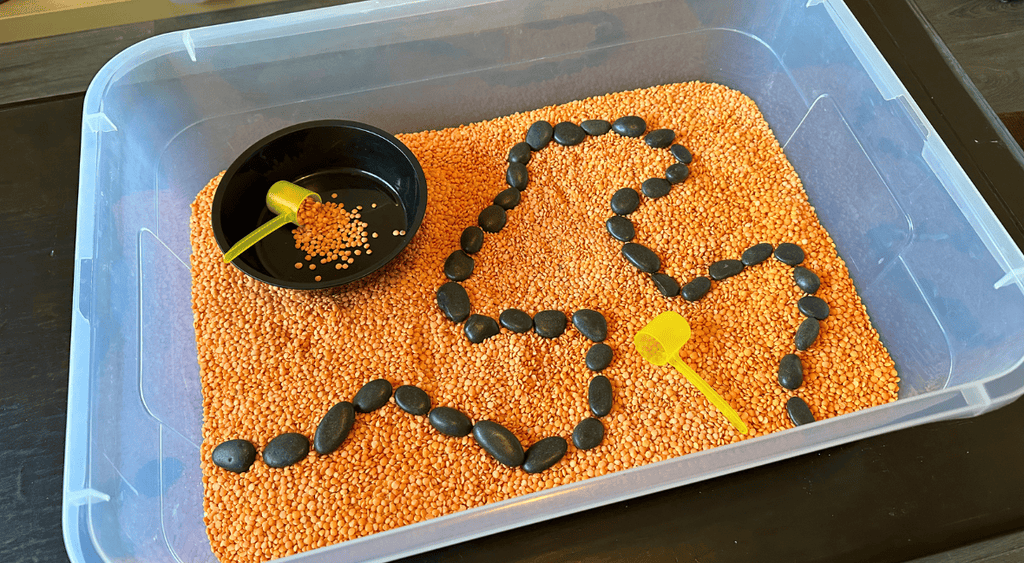
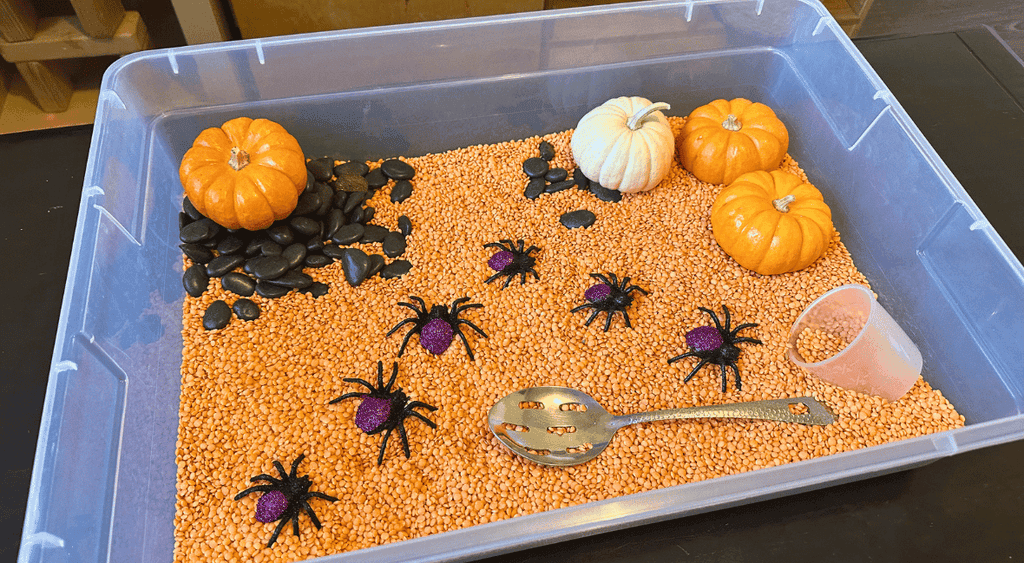
For this simple Halloween sensory bin, combine red lentils with black decorative rocks. I found my black rocks at the dollar store, and the orange and black colors give the bin a Halloween feel without making it overly themed.
The two materials also feel and move differently. The lentils can be scooped and poured, while the heavier rocks can be picked out, collected, sorted, buried, or balanced. Kids may decide the rocks are treasure, pretend food, potion ingredients, or something completely different.
Add a few scoops, small bowls, and maybe a tiny pumpkin or two. That’s really all you need! Kids can scoop the lentils, transfer the rocks, fill and empty the bowls, and come up with their own ways to play.
If you’re setting this Halloween sensory bin up for more than one child, include a few duplicate tools. You don’t need one of everything for every kid, but having more than one scoop or bowl can make it easier for kids to play together.
Remember that small rocks can be choking hazards, so this sensory bin is best for kids past the stage of putting things in their mouths—and should still be used with appropriate adult supervision.
2. Halloween Dyed Rice
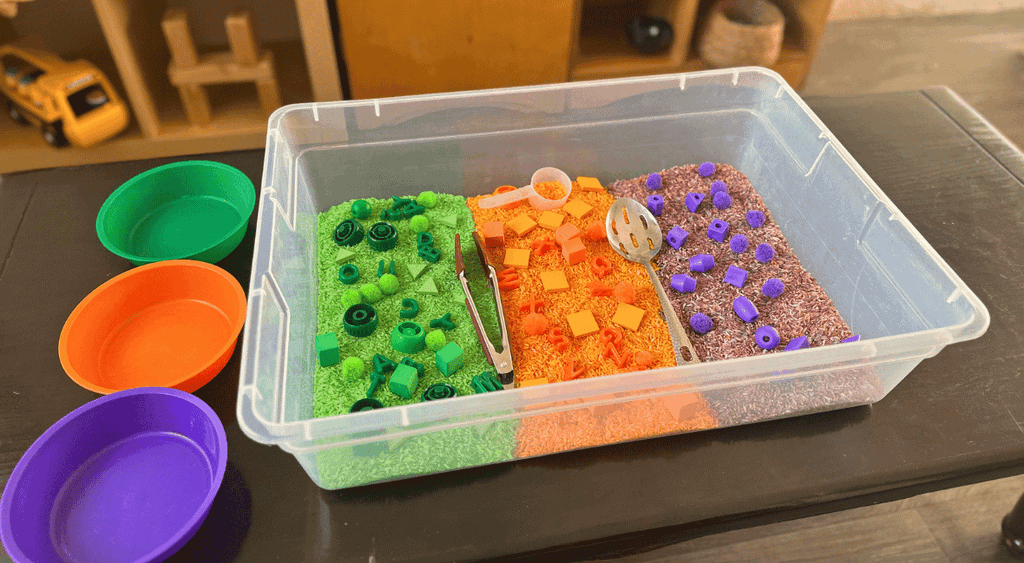
Dyed rice is one of my favorite sensory bin fillers because it’s inexpensive, easy to make, and lasts a long time.
- Here’s my super simple colored rice recipe!
For Halloween, I like to make green, orange, and purple rice, but you could make just one color and keep it even simpler.
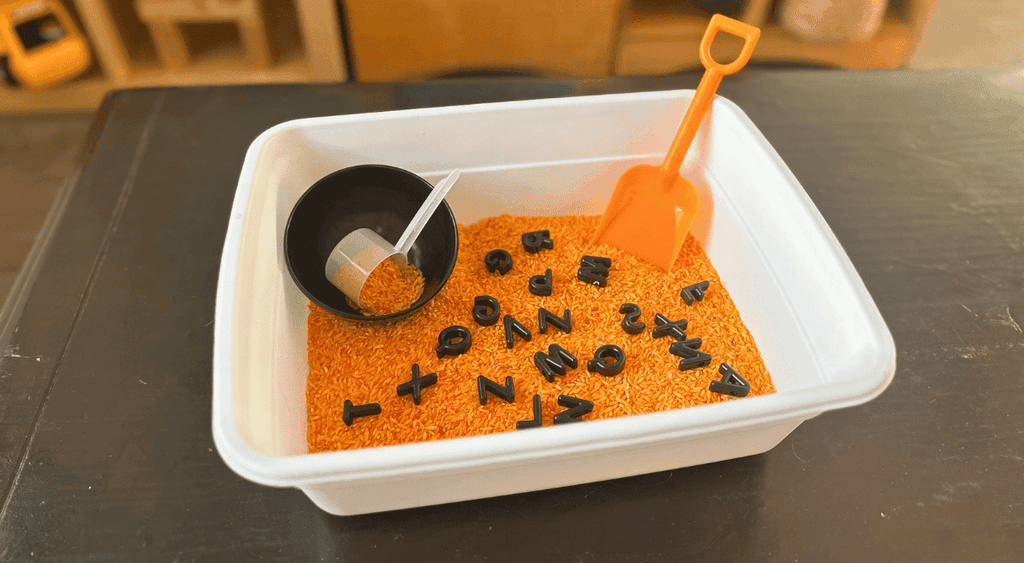
You can combine all three colors before putting the rice out or keep them separate and let the kids mix them through play. Just know that once they’re combined, you probably won’t be separating them again, and that’s okay!
Add a few scoops, small containers, and a pumpkin or two. You can also include a few Halloween accessories from the dollar store, such as fake spiders, small plastic cauldrons, or fake eyeballs. The key word here is few. Kids don’t need the bin packed with themed objects. Most of the time, they really just want room to scoop, pour, fill, dump, and explore the rice.
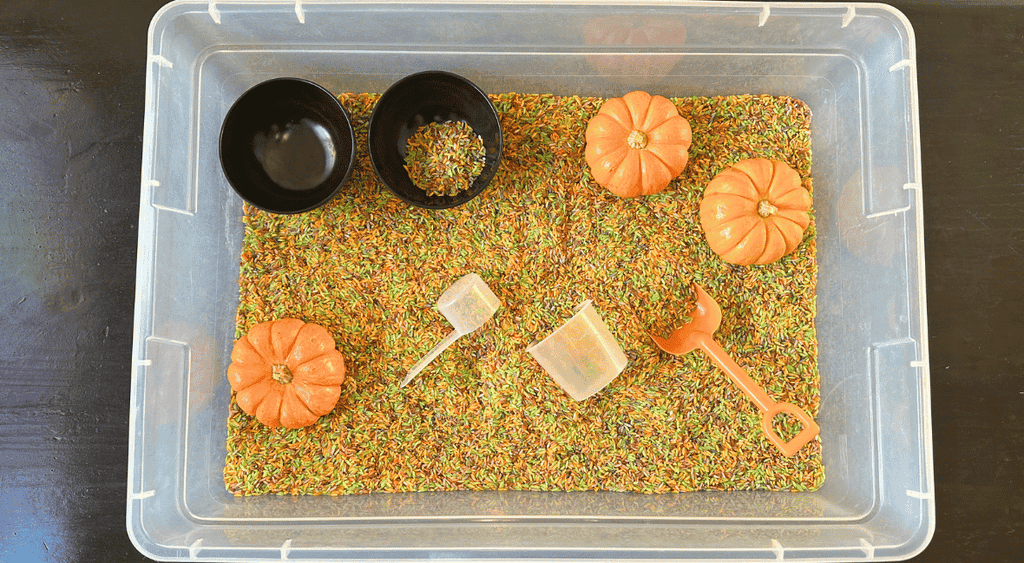
Funnels, narrow jars, muffin tins, and containers with lids can all add something new to rice play. You can change the tools later if interest starts to fade instead of replacing the entire sensory bin.
Store the rice in a sealed container when you’re finished, and you can bring it out again year after year. Make sure it’s completely dry before storing it.
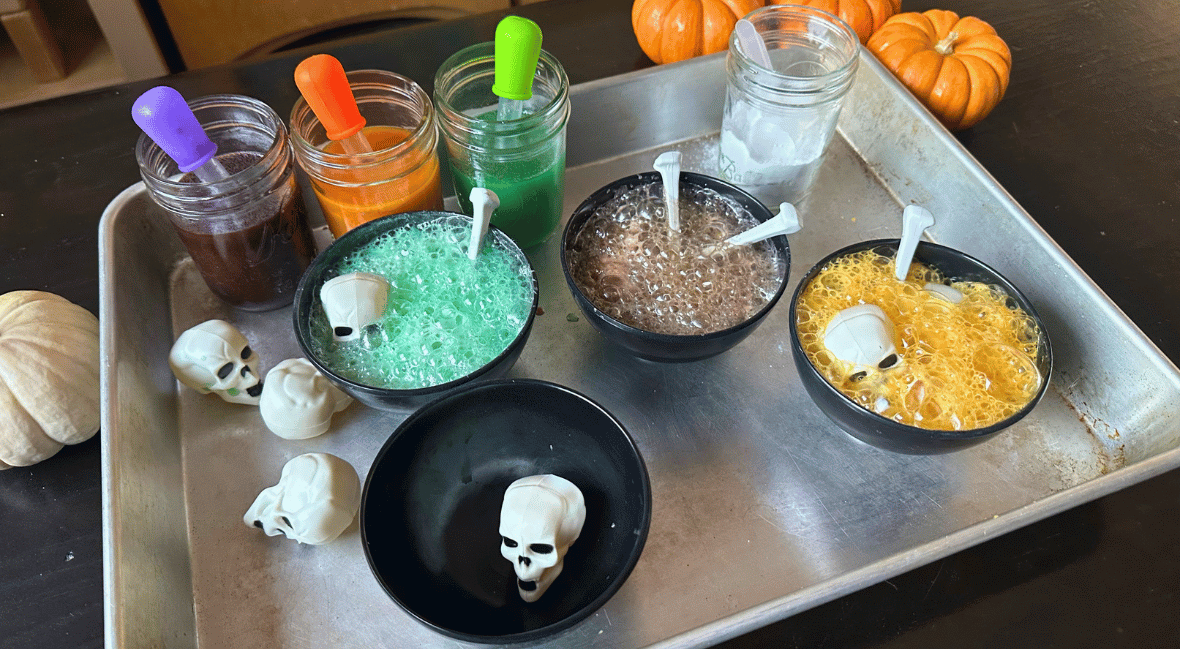
3. Magic Fizzy Potion
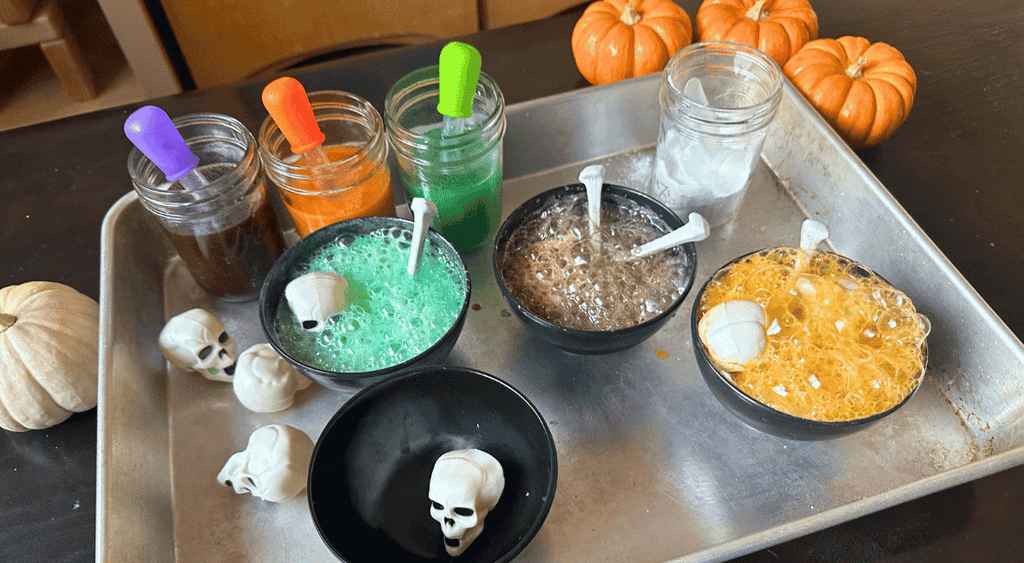
This magic fizzy potion feels especially magical and Halloween-y! It’s a little messier than the other Halloween sensory bins, but the fizzing reaction is so much fun.
I use this recipe from Wood N Poppy:
- Mix 1 cup baking soda, 1/2 cup citric acid, and 1/2 cup corn flour to form your dry mixture
- Option: add dried flowers and powdered dye to the dry mixture
- Put water and droppers in jars
- Optional: add dye and metallic paint to the water
- Scoop some of the dry mixture into a bowl, add water, and watch it fizz and bubble!
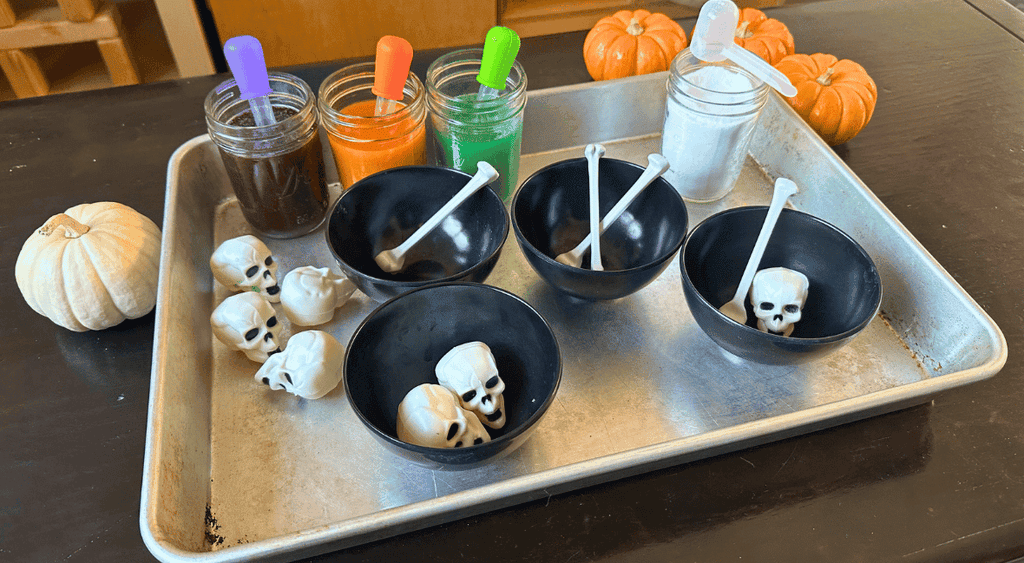
You can add powdered dye directly to the dry mixture or add food coloring or liquid watercolors to the water. For Halloween, I love dyeing the mixture a shimmery purple. You can create the shimmer with biodegradable glitter or a little silver liquid watercolor (thanks again to Wood N Poppy for the idea!).
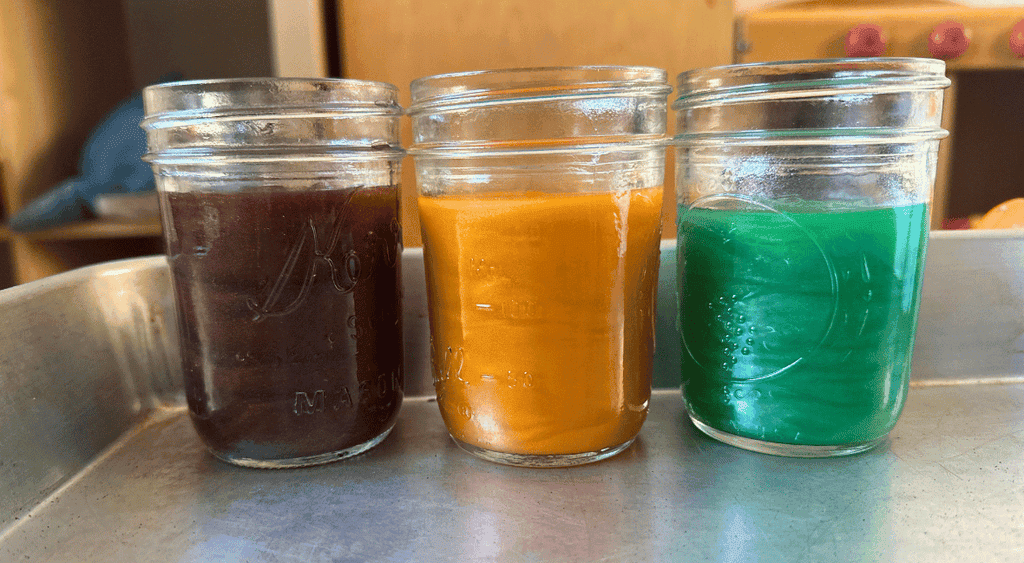
I put the dry mixture in glass jars with a scoop, place the colored water in separate jars with droppers, and set out bowls for mixing. Kids can experiment with different amounts of powder and water while watching their potions bubble and fizz.
There’s no single correct way to make a potion. Kids can add a little water at a time, make one large mixture, or fill several small containers. Try not to take over or explain exactly how much of each ingredient they should use. Experimenting with the materials is part of the fun.
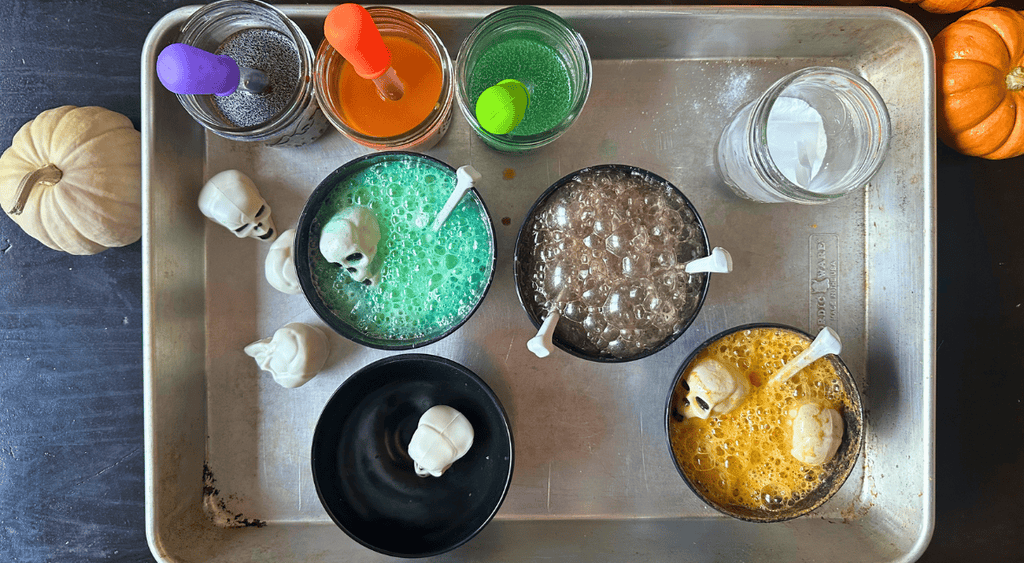
I like to do this activity outside or in an area that’s easy to clean because it can get pretty messy. Use containers that are appropriate for your group, and supervise closely if you choose glass jars.
4. Chia Seed Slime
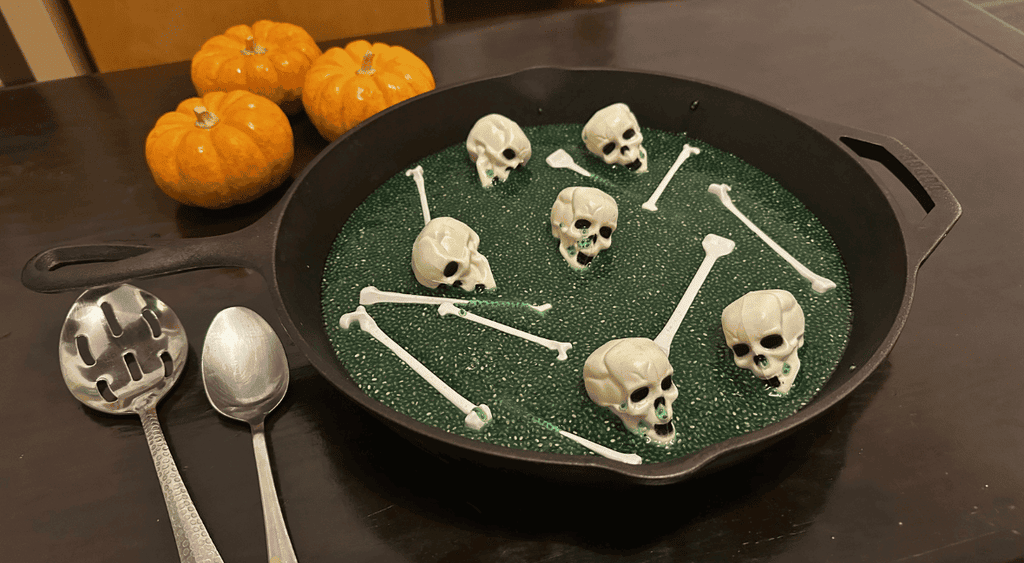
Chia seed slime is another wonderfully messy option for Halloween sensory play. You can dye it a fun color, add a few Halloween accessories, and you’re done. Green can look like monster slime, while purple, orange, or black can give it a fun Halloween feel.
Recipe:
- Add 1/4 cup chia seeds to 2 cups of water
- Add any food coloring and scents
- Mix
- Place the mixture in an airtight container in the fridge for several hours
- Play!
Add a couple of bowls, spoons, scoops, or small cauldrons and let kids decide what to do with it. They may stir potions, fill containers, hide objects in the slime, or simply enjoy squishing it between their fingers. Chia seed slime has such an interesting texture that it really doesn’t need many extras.
Yes, chia seeds are very expensive! I get mine from bulk bins so I can buy only the amount I need. If you live near a WinCo, they have the absolute BEST bulk bins—literally almost anything you could think of. The bins are perfect for finding affordable materials for sensory play.
Between play sessions, store the chia seed mixture in an airtight container in the fridge and throw it away after 5 days.
How to Make Sensory Bin Cleanup Easier
Sensory bins are meant to be explored, so some materials will probably leave the bin. That doesn’t mean you need to accept lentils or rice all over the house.
Place the sensory bin on a large tray, washable tablecloth, shower curtain, or sheet. When play is over, you can gather the edges and pour any spilled materials back into the bin. Doing the activity outside is another great option, especially for the fizzy potion.
It also helps to avoid overfilling the bin. Kids need room to scoop and pour without sending materials over the sides every time they move a tool.
Kids can help with cleanup too. Sweeping spilled rice or lentils with a small hand broom and dustpan is a practical life activity that helps kids care for their environment.
Know Your Kids
You know your kids and what they can safely handle. Avoid these sensory bins with babies and younger kids who still put everything in their mouths. Always check the materials and accessories for possible choking hazards, and leave out any pieces that aren’t appropriate for the kids using the bin.
Keep Halloween Sensory Bins Child-Led
Even with a theme, Halloween sensory bins should still be open-ended and child-led! You don’t need to give kids a specific outcome, create a list of tasks, or show them exactly how they’re supposed to play.
Set out a few interesting materials, give kids plenty of uninterrupted time, and let them take the lead. Watch what they do before jumping in with suggestions or questions. Their ideas may be completely different from what you imagined when you put the bin together.
Seasonal colors and a couple of Halloween accessories can make sensory play feel festive, but the simplest materials often inspire the longest and most creative play. Halloween sensory bins don’t need to be complicated or perfectly styled. They just need to give kids interesting materials and the freedom to explore them.




No Comments