
Slime has taken the world by storm, used by children and adults for ASMR and DIY relaxation. While there’s no doubt that playing with slime is incredibly fun and satisfying, did you know that you can create stunning artwork as well?
Slime art is the perfect answer to getting the most out of your slime, allowing you to create beautiful and unique artwork with the squishy medium.
We’ve created the ultimate slime art guide, teaching you everything you need to know about this beloved hobby, so you can discover for yourself why the world can’t get enough of slime art!
- Looking for more great sensory experiences for kids? Check out our favorite sensory bin filler ideas!
In this post:
- What is Slime Art?
- Benefits of Playing with Slime
- Different Types of Slime
- How to Make Slime Art
- Preserving Your Slime
We get commissions for purchases made through links in this post. As an Amazon Associate, we earn from qualifying purchases.
Learn More!
Fostering Independent Play: Mini Course
The COMPLETE how-to guide for parents on why, when, and how to encourage independent play.
On-demand course broken down into 17 easy-to-digest video lessons, 5 PDF guides, & an online discussion board.
What is Slime Art?
Slime art is simply when you create fun sculptures and artwork out of your slime by leaving it out to dry and harden. You can experiment with different colors and textures, discover the different looks and feelings as they solidify, and let your creativity run wild.
Since there are so many different types of slime, no two works of art will ever be the same, making each one unique and beautiful in its own right. This is an excellent form of open-ended process-driven art!
- Looking for other ways to get creative? Check out these kids painting ideas!
The Benefits Of Playing With Slime and Slime Art
Have you ever wondered why slime is so popular the world over? People just can’t get enough of slime, whether it’s the oddly satisfying ASMR feeling, ASMR sounds, or exciting colors and textures.
In fact, playing with slime has many physical, emotional, and mental benefits, including the following:
Helps develop fine and gross motor skills
Decreasing anxiety
Focusing and calming
Stress relief
Deep relaxation
Tension relief
No wonder so many people reach for slime when they’re feeling stressed or anxious! Apart from its many benefits, slime is an excellent creative outlet, allowing children and adults to express themselves virtually anytime and anywhere.
The Different Types Of Slime
If you grew up in the 90s, the idea of slime most likely conjures up images of the green goo poured over losing contestants in some of the many Nickelodeon TV shows.
While that may have been its origins, slime has evolved, taking on many different looks and feels. Let’s take a look at some of the most popular slime types, so you can choose which ones you want to use in your next work of art.
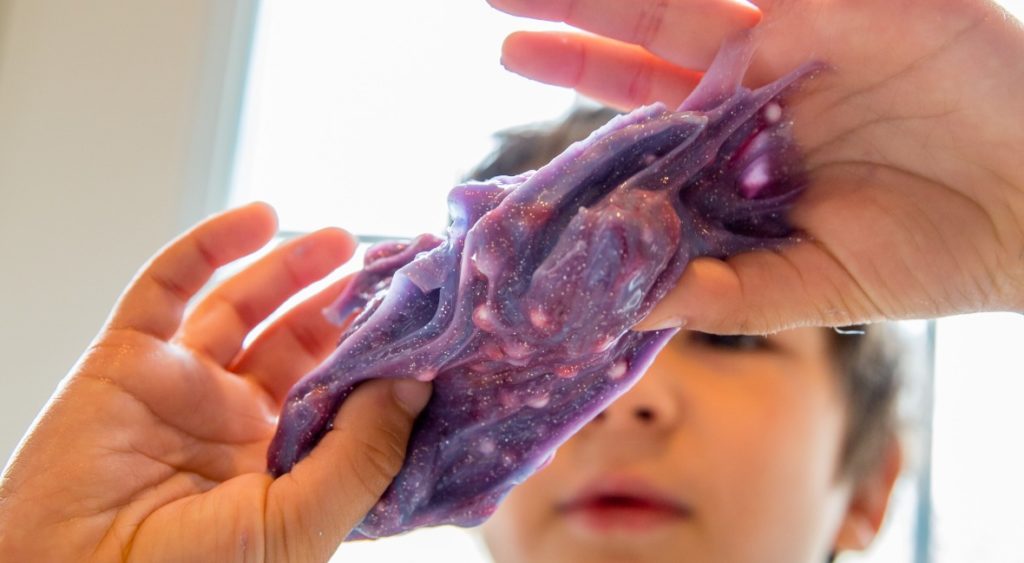
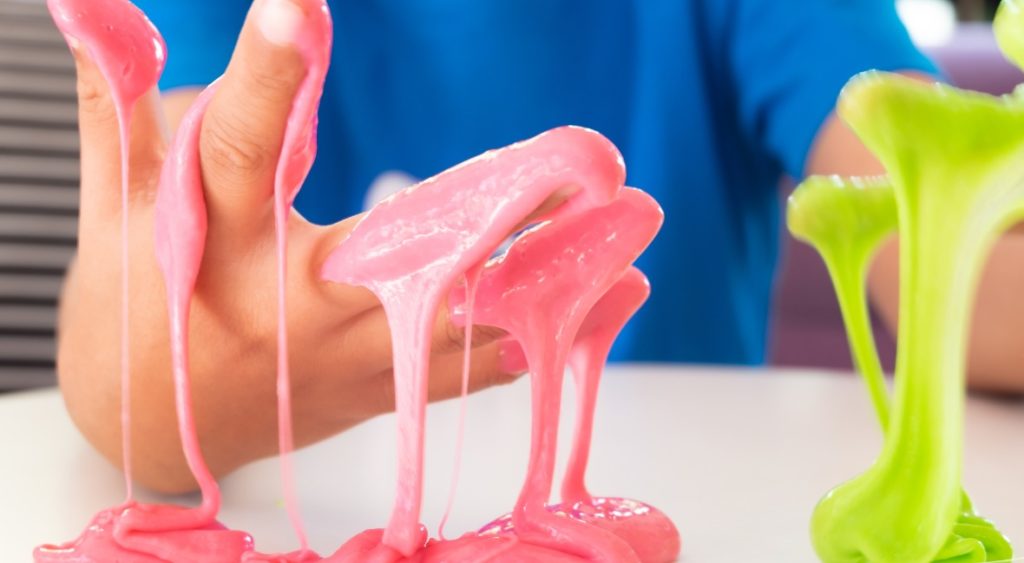
Thick And Glossy
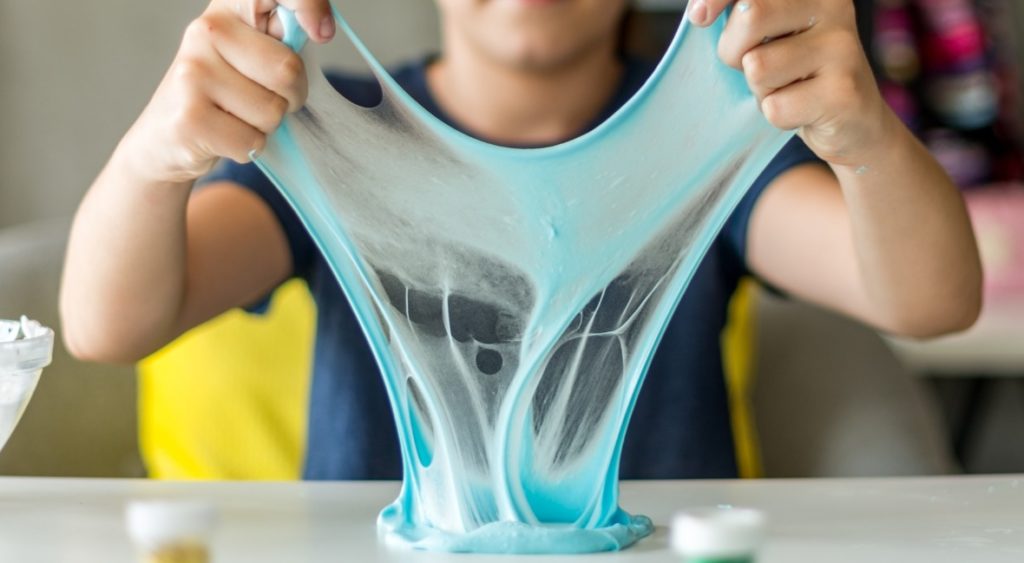
Thick and glossy slime is what most people imagine when picturing slime. It’s perfect for stretching and squeezing, creating a pleasant and oddly satisfying feeling many people enjoy.
Thick and glossy slime is the perfect base for adding different colors and textures, as in our next type.
How to Make Thick and Glossy Slime
You can make your own slime using just white glue, liquid starch, and any food coloring of your choice! Check out this easy slime recipe from The Soccer Mom Blog.
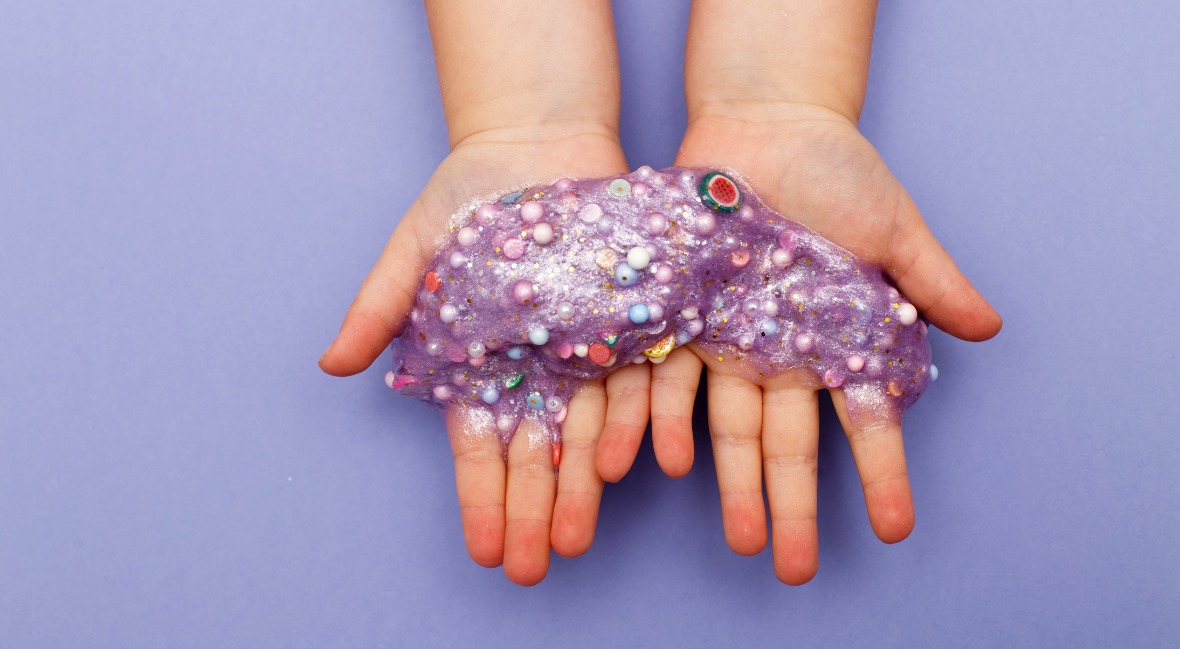
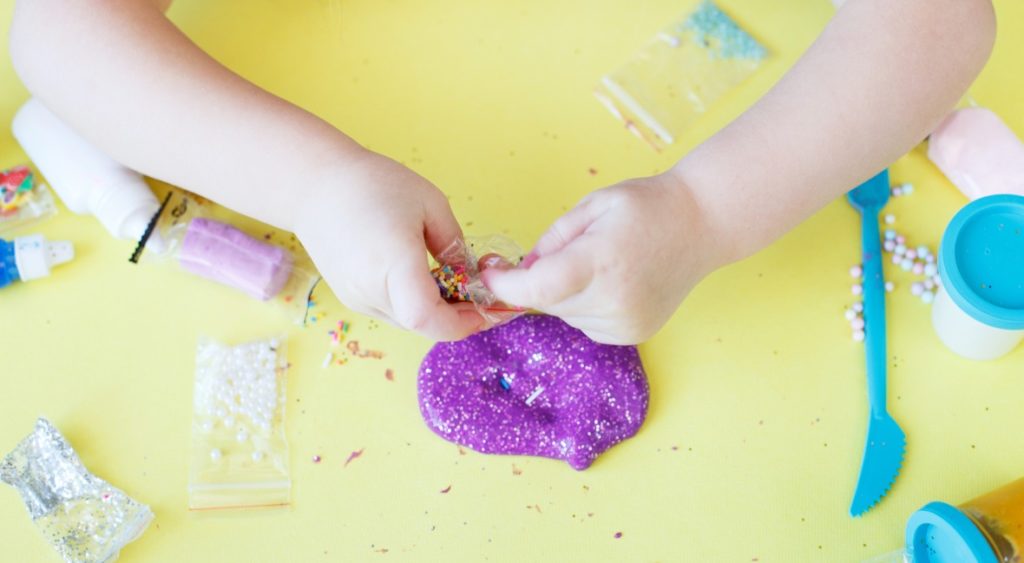
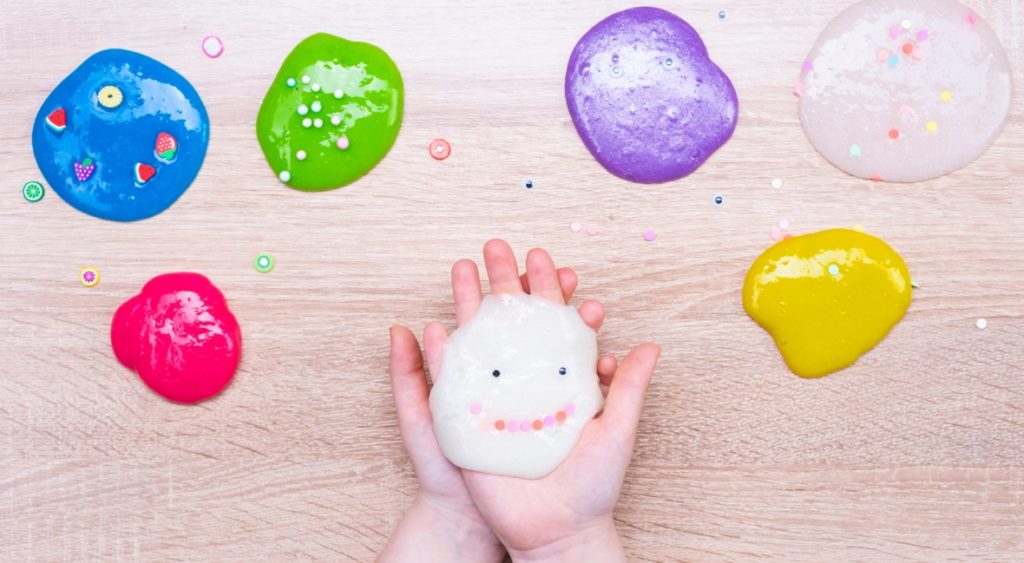
Textured Slime
Textured slime is a favorite among slime enthusiasts, creating a unique feeling and experience every time. You can use many different items to create various textures and consistencies, experimenting to see which ones you like best.
Some top choices include beads, glitter, foam, and virtually any other small, hard trinket you could imagine.
Whether you purchase it from a store or choose to make your own in a fun DIY art project, there are endless possibilities for creating your ideal slime.
How to Make Textured Slime
Simply make slime and add whatever you’d like! We love following this foam slime recipe from Little Bins for Little hands. You can follow the base recipe and swap out the foam for anything you want to add!
Here are a few of the most popular additives you can try:
Cloud Slime
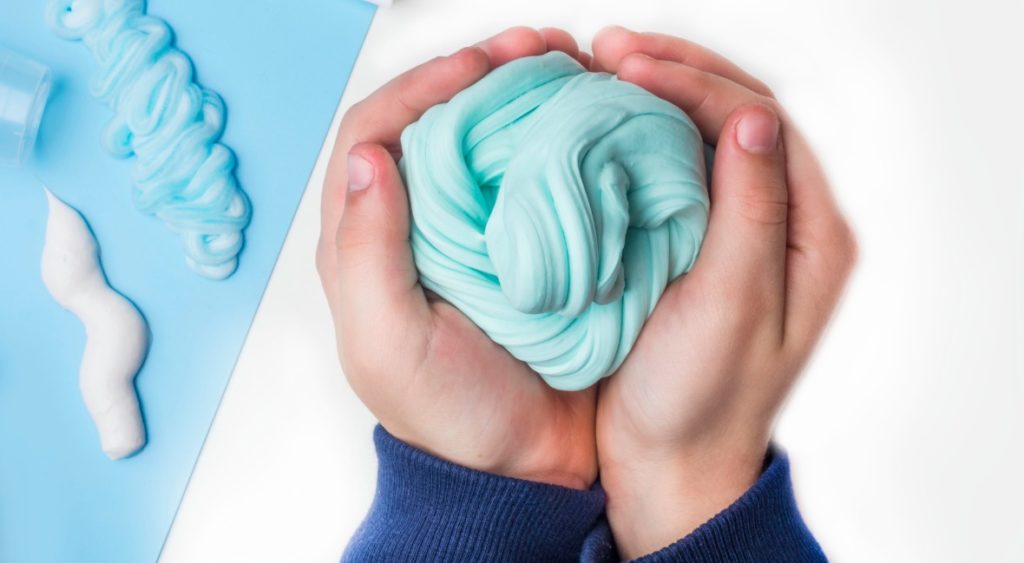
Cloud slime is a favorite, thanks to its airy and fluffy consistency. It has a unique drizzling effect that is incredibly satisfying and creates different ASMR sounds when pressed.
How to Make Cloud Slime
You can make a fluffy cloud slime in two different ways. You can use instant snow, as in this slime recipe from Little Bins for Little Hands. Or you can add shaving cream to make it fluffy, as in this slime recipe from The Best Ideas for Kids.
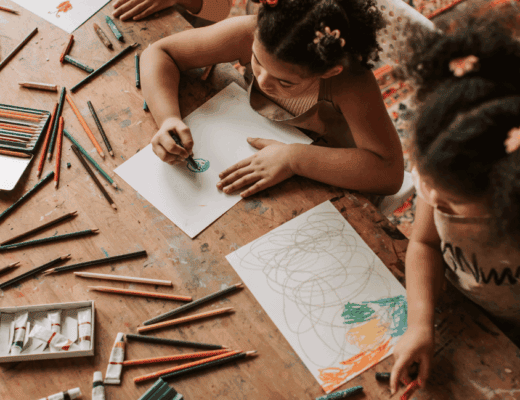
How To Make Slime Art
Making slime art is easy; you simply leave your slime out of its airtight container, causing it to harden. You want to place it on a hard laminated surface, glass table, or solid countertop, ensuring it is easy to remove once set.
There’s no right or wrong way to make slime art; you can get as creative as you’d like, mixing different textures and colors while trying to set it into various shapes.
Many people create their own unique collection of slime artworks by creating their own DIY slime. By concocting your very own unique slimes, you can generate slime masterpieces that are unlike any others in the world.
Once you thoroughly understand the different types of slime, you can begin making your very own slime art. As a slime DIY artist, you can choose the colors, textures, and mixtures you’d like to use to create realistic slime pieces that show off your artistic flair. Slime art is one of the best DIY ASMR hobbies, and once you start, you may find you never want to stop!
Making Slime Art: Create, Wait, Enjoy!
Create!
Once you’ve chosen the slime you want to use in your artwork, slowly press it onto a solid surface, creating the pattern of your choice. Take your time and have fun experimenting with different shapes and designs. You can wrap it around solid objects to keep it standing upright or lay it flat; the choice is yours.
Wait!
Once you’re happy with your artwork, leave slime to dry on a cool flat surface. The drying process can take anywhere from a few hours to a few days, depending on the slime’s initial consistency and how much you’ve used.
For faster results with your slime, thin sections are recommended. During the drying process, begin thinking up ideas for new slime art creations that you can try!
Enjoy!
Once the slime dries, slowly lift it from the solid surface, being careful not to bend or break it. Now you have a beautiful work of art you can proudly display that is sure to add color and fun to any space.
Preserving Your Slime
While drying out your slime to create slime art is an excellent way to use up older slimes you may not want to play with anymore, knowing how to store your current slimes properly will ensure you have months of worry-free fun.
Here are our top tips:
- One of the most important things to remember is that slime and air don’t mix, so keeping it sealed in an airtight container is the key to preventing drying out.
- You should also store it in a cool place like the refrigerator to help thwart the growth of mold, bacteria, and other germs that can ruin your slime and are just plain gross.
- If exposed to an overly humid environment, slime can begin to go bad very quickly due to one of its main ingredients, glue. Glue is extremely sensitive and will mold quickly with only short exposures to a humid environment change, so avoid introducing too much liquid to its storage container.
- It’s also good practice to wash your hands before handling your slime, preventing exposure to harmful bacteria that may grow on its surface.
- To protect your furniture and clothing, avoid placing your slime on any fabric surfaces, as it can stick and cause staining.
Common Slime Problems and How to Remedy Them
Slime is sticky and/or liquidy
When the chemical reaction that causes the slime to form begins to weaken, it can become liquidy and/or sticky. This condition is referred to as “underactivated,” and fortunately, there is an easy solution!
You can reactivate your slime quickly and easily by adding a small amount of the activator and kneading it until combined. Continue adding, being careful not to introduce too much at a time until you achieve your desired consistency. You can continue this practice as needed to ensure your slime maintains the perfect texture.
Cloudy or bubbly slime
One of the most common issues people have with clear slime is it becoming cloudy or bubbly. This situation occurs from normal handling and is nothing to worry about.
You can simply allow your slime to rest for a few hours to a few days, and it should clear right up. You can speed this process up by placing it in a warmer spot; just keep an eye on it to ensure it doesn’t begin to mold.
Stiff or hard slime
If you accidentally add too much activator when making your slime, it can cause it to become stiff or hard. There are three options to counteract this occurrence:
Mix in baby oil or lotion (not for use in clear slime)
Mix in a PVA glue like Elmer’s
Mix in water until the slime softens
How do your kids like to use slime?
Slime boasts the honor of being one of the most popular toys in the world, thanks to its relaxing consistency and endless consistency and texture possibilities. Thanks to the interesting activation method, slime is a suitable science fair connection option, allowing children to discover the thrill of science while making their very own real slime.
Adults love to use it for stress relief, creativity, and plain old fun. If you’re looking to try a new hobby that will relax and invigorate you at the same time, you can’t go wrong with slime art!


No Comments