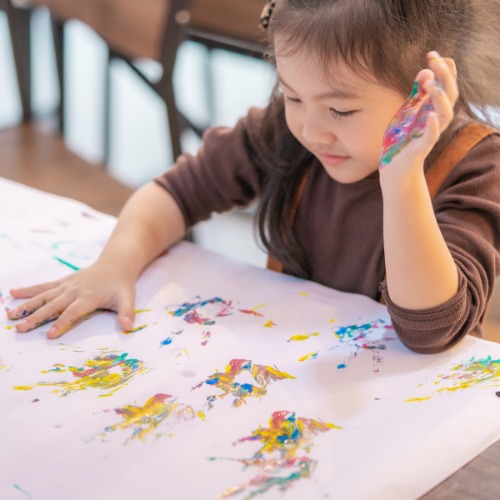
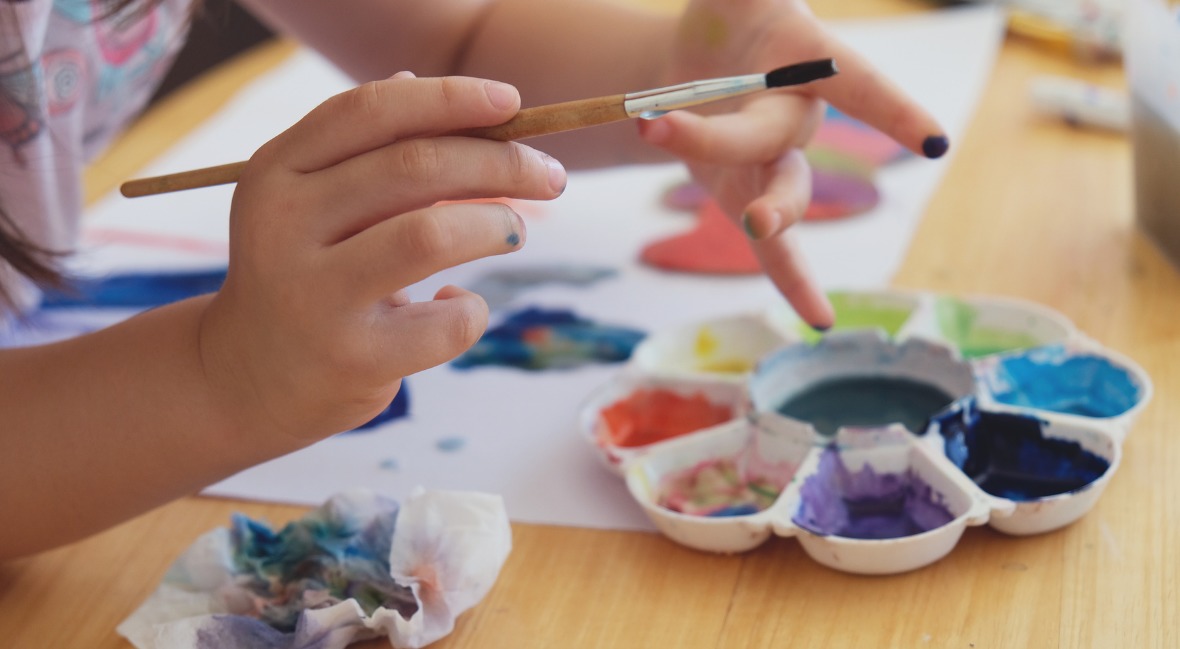
There’s no denying that kids love to paint and that it can be a great activity to do at home! But coming up with new and fun painting ideas to keep them engaged can be challenging. We have created 5 amazingly simple steps for helping you come up with painting ideas for kids.
Process over Product!
When designing projects, the process, not the product, is essential. Forget all those cutesy craft projects that you’ve seen on Pinterest. Instead, give your kids free rein when using the materials. This is what we call process art. If 10 kids all tried the same project, they would all make something different. This is true creative art.
But you might be thinking, “How can I come up with new projects for my kids if I’m not supposed to tell them what to make?” Simple! You can change what they do by varying the supplies you give them. Essentially, kids need something to paint on and something to paint with. You can create endless project opportunities for your kids and make painting feel new and exciting by varying these.

We get commissions for purchases made through links in this post. As an Amazon Associate, we earn from qualifying purchases.
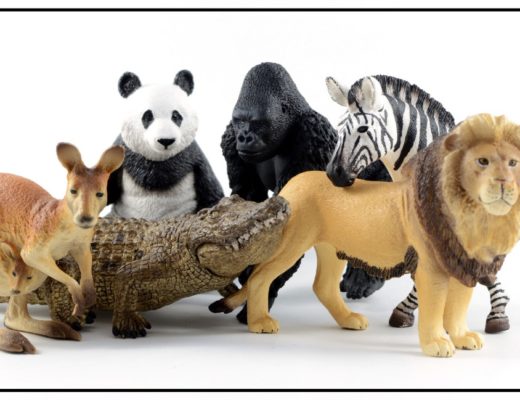
- Looking for other toys that encourage play and creativity? Read our guides on picking out sets of blocks or toy animals for kids!
Painting Ideas for Kids in 5 Simple Steps
Step 1: Choose something to paint on
• newspaper
• foil
• cardstock
• cardboard
• cardboard boxes
•backyard fence
• egg cartons
• bathtub
• paint stirring sticks
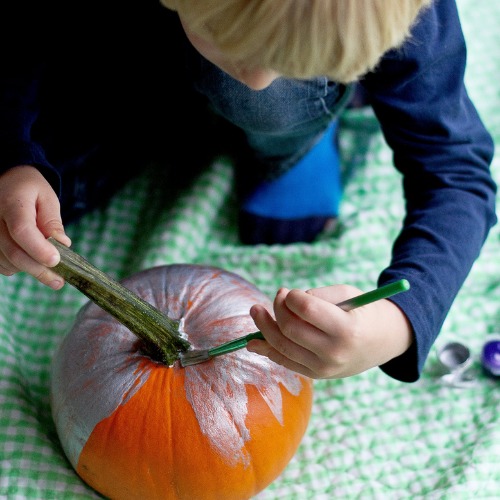
• pumpkins
• sticks
• paper cups
• rocks
• leaves
• paper towel tubes
• foam packaging materials
• textured cardboard packaging materials
• fabric
• bubble wrap
• wood
• paper plates
• block of ice
• pinecones
• paper bag
• snow
•parchment paper
•paint over a previously made bumpy collage
• wood rounds
Step 2: Pick a size and shape
• tiny (ie, piece of paper, canvas)
• HUGE (ie, cardboard box)
• large mural
• triangle
• circle
• heart
• square
• odd shape
• paper with shape cut out of the middle.
Step 3: Choose a type of paint
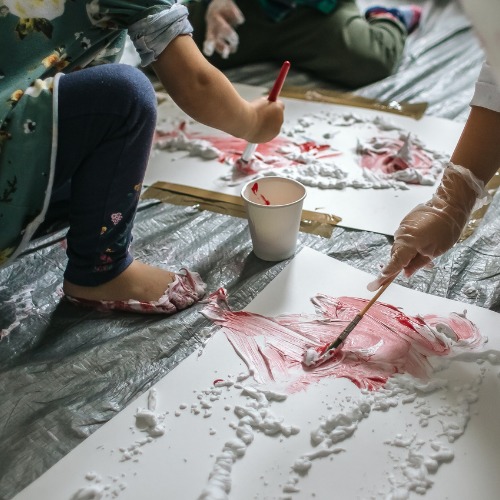
• shaving cream and tempera paints
• pudding
• paint with an added scent
• water
Step 4: Choose paint colors
• primary colors
• rainbow colors
• pastel colors
• single color
• 1 color + white and black
• unique mix concocted by your kids
Step 5: Choose a painting implement
• q tips
• flowers
• feathers
• corks
• toy cars
• corn on the cob
• kitchen utensils
• toy dinosaurs
• cotton balls and clothespins
• fingers
• spray bottle
• feet
• spoons and a funnel
• squeeze bottles
• fly swatter
• balloon
• apple sliced in half
• spoon
• blowing paint through a straw
• marbles in a cardboard box
• sponges
Just like that, you have endless painting ideas for kids!
You can see how you can add so much variety even if always using brushes and construction paper by changing the color and size of the paper and the paint color. These types of painting ideas for kids don’t take hours of planning or prep on your part and don’t have to involve lots of expensive supplies.
The key is to allow kids to be creative and explore various ways to use the materials and colors. Say yes to touching, smearing, mixing, pouring, and other experimenting with the paints. Kids are learning, expressing themselves, and building their fine motor skills all at the same time!
Discard any ideas you might have about how you would like the project to look. This limits kids’ creativity and can lead to you over-directing. What you want to do is set up an invitation to paint. Yes, your kids might mix all the colors, and it will turn out brown, but what’s wrong with that? Do less and allow your kids to do more!
Here are some of our favorite painting ideas for kids:
- Painting with watercolors and brushes on a paper with a circle cut out of the middle.
- Painting on foil with q tips and blue, white, and black tempera paints.
- Using spray bottles and liquid watercolors to paint snow.
- Painting pumpkins with spoons and various colors of tempera paints
- Painting on blocks on ice with droppers and liquid watercolors.
- Finger painting on cardboard with pudding.
- Painting on the backyard fence with water and large flat brushes.
- Color mixing on foil with primary colors and fingers.
- Crumpling up pieces of newspaper into balls and painting them with tempera paints.
Tips for Success When Painting With Kids
You want to enjoy painting projects with your kids, but that’s hard to do when you’re worried about the mess. Here are some of our tips for painting success.
1. Set very clear rules and expectations before you begin.
This might go something like, ” We’re going to paint at the table/easel/whatever. When you’re done, you can head straight over to the sink to get your hands all washed up. The paint stays in this area here. If you do start to paint anywhere else, we will have to be done for today.”
Or you can ask kids questions to help them remember your paint rules. “Where do we paint?” “What should you do when you’re done?” “What will happen if you paint anywhere else?”
2. Avoid carpeted areas.
Avoid any carpeted area and instead paint on hardwood floors, tile, or even outside. Any mess that is made can easily be cleaned up, and you won’t spend the whole time worried about stains. On that note, fully cover anything that you don’t want to get paint on it.
It can be fun to have a messy outside paint day where kids can do whatever they would like with the paints and explore to their heart’s content. Hose them off when they are done.
3. Paint close to a sink.
This allows kids to wash their hands as soon as they’re done. We love painting in the kitchen for this reason and have a stool that will enable kids to climb right up to the sink and get all washed up.
4. Paint in clothes that can get messy.
Our kiddos have dedicated painting clothes, allowing us to step back and let them create without worrying about staining any of their nicer outfits. This allows for a full sensory experience!
Paint smocks can also help. But we find that kids somehow seem to still get some paint on their clothes even when we think we’ve got clothes fully covered. Also, kids are great at smearing the paint on everything should they attempt to take the smock off themselves. Be warned.
5. Minimize the number of supplies that you have out at once.
Having out only a few brushes, a few pieces of paper, and a small amount of paint can keep the painting situation from spiraling out of control. Refill as needed.
7. Have a designated drying area set up BEFORE you begin painting.
This gives you a space to place completed paintings without creating any additional mess. Also, it frees up the painting area for more painting or clean-up.
7. Involve kids in the clean-up process.
Kids should help to clean up when they’re done painting. Show them how to wash brushes and where to place them to dry. Give them access to rags and sponges so that they can wipe up any messes on tables, easels, or the floor.
At first, it will be a bit more work to have kids help. But over time, they will clean more and more on their own because you have given them the skills to do so and set the expectation that things must be cleaned up when they’re done. You are teaching kids that they’re responsible and capable!
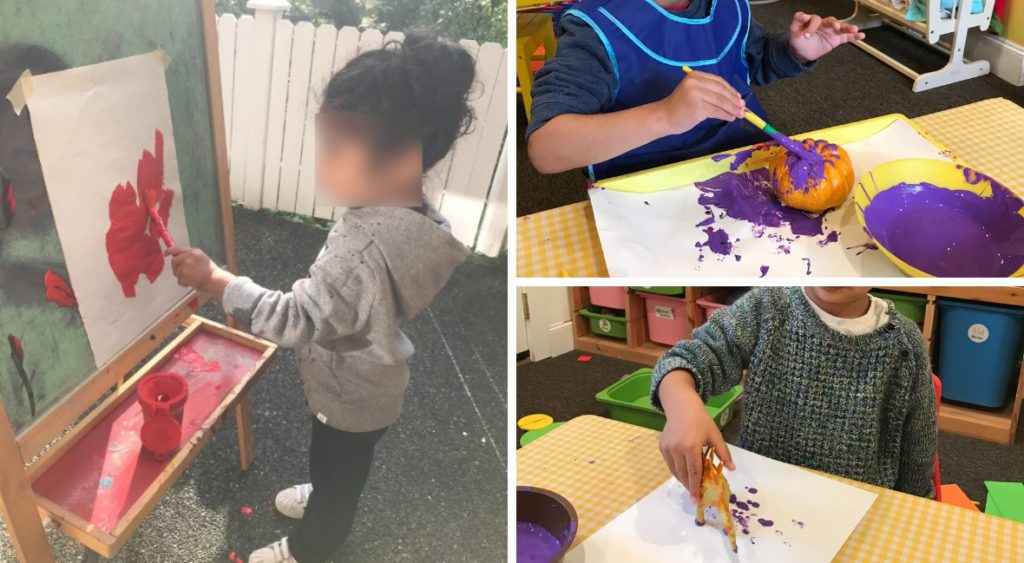
We hope you will set up an art space in your home and try some new painting ideas for kids. Now you see that the whole process isn’t as complicated or time-consuming as you might have thought. Step back and see what your kids create!
Find places to display your kid’s projects to show them how special you find their work. Try making a display area that is low enough for kids to hang their work. Low magnets on a refrigerator can work great for this. But also, don’t be afraid to let kids cut-up paintings, collage with them, or paint over them. We love to take paintings and fold them into cards for friends and family.
- Looking for more art ideas? Check out our slime art guide!

No Comments